# Build and distribute project
# Generate App integrity & certificate verification snapshot
There is additional process to verify app integrity & certificate when you test your app or distribute app through app store. If you skip this step the app running on device will be terminated after few seconds for broken app integrity.
When distributing app built in Release mode through Development or Ad Hoc it will be terminated for security check which tells the executable has not encrypted by Fairplay DRM so skipping this step will have the same result, but you should process this step when you distribute your app through TestFlight or App Store.
Let's walk through the step-by-step process for uploading your app to the App Store or TestFlight. Below is the Visual Studio screen when Archive is completed.

Click the “Sign and Distribution” button to start the distribution process.
In the dialog window that appears next, select the “App Store” item for Testflight or Apple Store upload and click the “Next” button.

Select “Export” instead of “Upload” in the dialog window that appears next.

You usually selected “Upload” almost but you must select “Export” to apply AppSealing. This is because taking snapshot for app integrity and certificate is needed and your app will not run normally on device without this process. Click “Next” button with “Export” is selected.

After checking the contents, click “Next” button to display window for saving the IPA.

Choose a save location and click “Save”. Here, we specified the file in the path ~/Downloads/TestApp-Xamarin.ipa.
Click “Save” to create an IPA file in that folder. You can check it in Finder as shown below. Now either remember where this folder is located or navigate to it in Finder and keep the window open.

Now we need to proceed with the exported IPA file. Launch the terminal app and navigate to your Xamarin project folder.

This guide used ~/Projects/TestApp-Xamarin as the Xamain project path. As shown in the picture above, if you move to the location and run pwd, you can see the path.
Run add permission command like below and open generate_genesis file. (You can open the file by double-clicking it in Finder)
$ chmod +x AppSealingSDK/Tools/*
$ open AppSealingSDK/Tools/generate_genesis
When you first install the SDK and open the generate_genesis file for the first time, the following warning window may appear.

In this case, click the OK button to close the window, then go to the settings window and click the “Security and Privacy” item.

Select the “General” tab on the left and click the “Open Anyway” button at the bottom.

Click “Open” button when another confirmation window appears after clicking the “Open Anyway” button.

New terminal window will show the execution result of “Open” action, just close the window.

Now you run ‘generate_hash’ script like below. This script has only one parameter which is path to the exported IPA file in previous step. You can type the IPA path manually or drag & drop the TestApp-Xamarin.ipa file from the opened Finder window in previous step.
$ AppSealingSDK/Tools/generate_hash ~/Downloads/TestApp-Xamarin.ipa

After you execute the script you will see the progress like below and snapshot for app integrity and certificate will be added to the IPA file.

This process has to be applied to distribution step as “Ad Hoc”, “Enterprise”, “Development” identically.
# Upload re-signed IPA to App Store Connect
Now you can upload re-signed IPA to App Store Connect. This document uses Transporter app (MAC) for convenient uploading. If the Transporter app has not installed in your MAC you can open Mac AppStore, search “Transporter” and install.

Launch Transporter after installation you are requested for Apple ID like below. Enter your Apple ID and password. (This step is required only once for the first time)

After you login with your ID and password you can see the Transporter window like below. Click the “+” button upper-left or “ADD APP” button in the middle to select IPA to be uploaded and select the re-signed IPA in previous step.


When you update your app by adding IPA file with new version or higher build number a warning dialog can appear like below because of same bundle ID. In this case just click “Replace” button to upload new IPA.

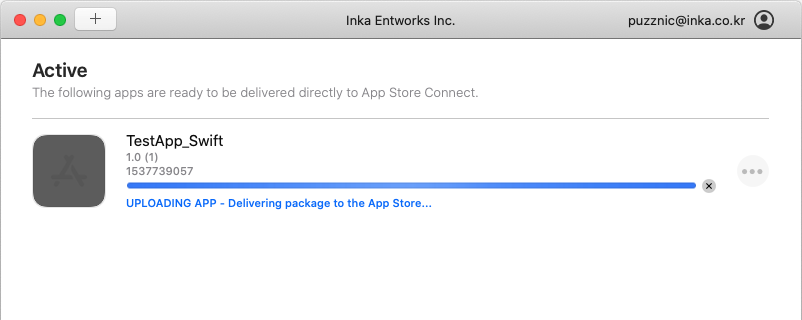
After IPA file has added, click “DELIVER” button then verifying and uploading to App Store Connect process will be in progress.


If you encounter below window the upload process has finished and you can submit your build for App Store review or TestFlight distribution.

